eDocs Manual |
|
|
|
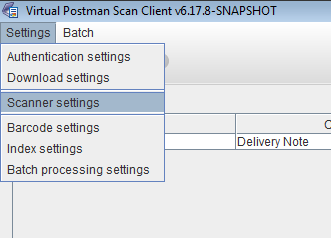
The scanner settings of the eDocs Scan Client configure how images are scanned into the Scan Client. To access the scanner settings, select the Scanner settings option from the Settings menu of the Scan Client. The eDocs Scan Client comes with multiple image sources installed. Each image source allows you to acquire images in a different way. The following images sources are available:
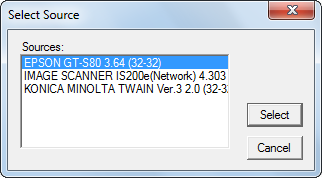
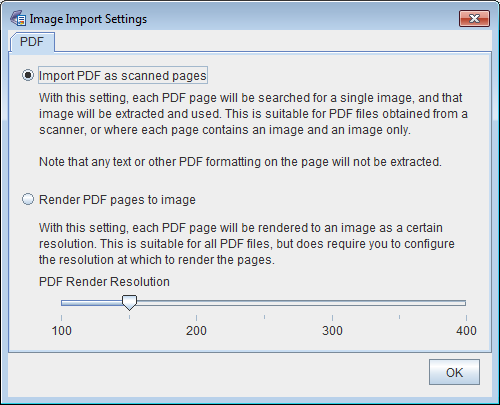
Figure 3.7, “TWAIN32 scanner settings” shows the scanner settings for the TWAIN32 image source. To select a different image source, choose a different entry from the Scanner Source drop down. Figure 3.7, “TWAIN32 scanner settings” shows the settings for the TWAIN32 image source. If the Show TWAIN driver settings before scanning option is selected, then the settings window from the TWAIN driver will be displayed each time the user scans. This allows the user to make adjustments to the scanner settings before each scan. If the option is not selected, the driver is requested not to display the settings window, and just scan without further prompting. The button can be used to immediately bring up the TWAIN driver settings for the selected TWAIN scanner. If the Stop on empty option is selected, the scanner will be asked to stop scanning when there are no more pages in the feeder. If not selected, the scanner driver will typically show a window asking the user to click once there are no more pages, allowing the user to add more pages to the feeder if desired. The button causes a window to be displayd in which the user can select the TWAIN scanner to use when scanning, as shown in Figure 3.8, “Selecting a TWAIN scanner”. If the desired scanner does not appear in the list, please make sure that the scanner is correctly connected to the computer, ad that the driver software is installed. If an error occurs when scanning, please use this feature to make sure the correct scanner is selected. The Files image source allows importing images from a file. The settings for the Files image source are shown in Figure 3.9, “Files image source settings”. The user can select one or more images to import by selecting the . The user can select an entire directory from which to import all images by using the button. If the Delete files after import option is selected, then each image file that is imported will be deleted if all images are imported successfully. The exact details of how images are imported can be controlled by using button. This button will cause the window shown in Figure 3.10, “Image import settings” to be displayed. Figure 3.10, “Image import settings” displays the settings for importing PDF files. As described on the screen, there are two methods that can be used when importing PDF files. If the PDF file contains a scanned image, we can open the PDF file, and extract just the image contained on each page. This only works for PDF files where each page contains only a scanned image. For more complex PDF files, we can render each page to an image, and import that rendered image. Rendering of PDF files to images is done on a best effort basis, as this is not within the scope of the eDocs Scan Client, but is merely added as a covenience feature. When rendering a PDF file to an image, the user should select the resolution at which to render the PDF file. We have found that a resolution of 100 to 150 usually suffices. |


