eDocs Manual |
|
|
|
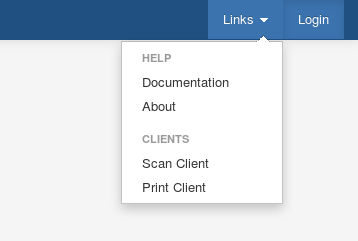
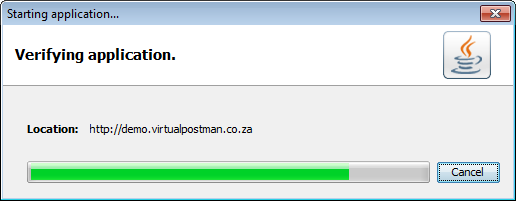
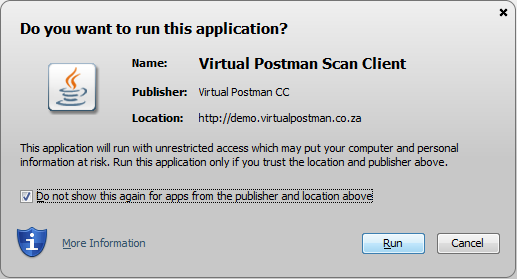
To install the eDocs Scan Client, click on the Links menu from the top right of the eDocs web interface, and click on the Scan Client menu item. With the Java Runtime Environment correctly installed, this will start the Java Web Start application. Initially, you will see a Java splash screen, as shown in Figure 1.2, “The Java Web Start splash screen”, which will be replaced shortly by a download progress dialog, which displays the progress being made while downloading the application files, as shown in Figure 1.3, “The Java Web Start download progress dialog”. Once the application files have downloaded, you will be presented with a security confirmation dialog, as seen in Figure 1.4, “The Java Web Start security confirmation dialog”. This dialog asks you to confirm that you wish to run the application. This is a security feature provided by Java, which notifies you before running applications from the Internet. This dialog will be presented when you first install the software, then again each time the software is upgraded. You can prevent it from coming up each time by selecting the checkbox as shown above. Then, click on the "Run" button. This completes the installation and launches the eDocs Scan Client. An icon will be automatically created for you on the desktop. You will be able to use this desktop icon to launch the eDocs Scan Client after the initial installation. When the eDocs Scan Client starts, it attempt to connect to the server to update itself. If a newer version of the software is avilable on the server, then it will automatically be downloaded and installed. If, for whatever reason, you experience problems with automatic updates, you can simply click on the link on the web interface to force an update. |


